Headphone pads should be cleaned regularly to prevent bacterial buildup and maintain audio quality. First identify your pad material—leather, synthetic, velour, or silicone—as each requires specific care. Use a microfiber cloth with minimal moisture for synthetic leather, only water for velour, and gentle solutions for genuine leather. For stubborn stains, diluted dish soap works effectively. Always air dry completely before reattaching pads. Proper cleaning techniques extend pad lifespan while preserving both comfort and sound isolation.
Key Takeaways
- Identify your headphone pad material first (synthetic leather, real leather, velour, hybrid, or silicone) to determine appropriate cleaning methods.
- Use microfiber cloths with minimal moisture in circular motions for synthetic leather, and only water for velour or Alcantara pads.
- For routine cleaning, dust with a dry cloth first, then use a mild soap solution for deeper cleaning of oils and sweat residue.
- Ensure complete air drying after cleaning before reassembling or using headphones to prevent moisture damage to electronics.
- Clean headphone pads regularly to prevent bacterial buildup, maintain sound quality, and extend the lifespan of your cushions.
Why Regular Headphone Pad Cleaning Matters
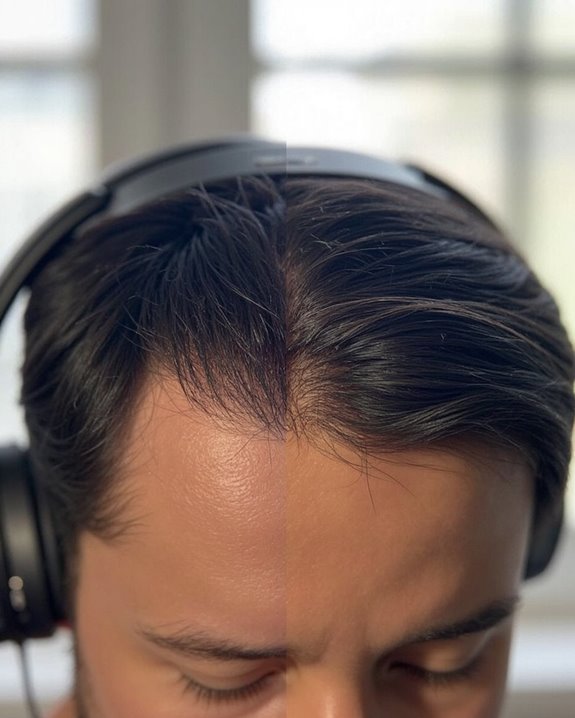
Why do so many headphone users overlook the critical practice of regular pad cleaning? The consequences of this neglect extend beyond mere aesthetics, directly impacting both health and audio performance.
Regular cleaning serves as essential InfectionPrevention, reducing bacterial buildup that can cause ear infections and skin reactions. Headphone pads in contact with skin collect oils, dead cells, and moisture—creating ideal conditions for microbial growth that can transfer to ears during use.
Additionally, cleaning delivers significant ComfortImprovement by maintaining the original cushioning properties of the pads. Accumulated dirt and oils can compromise the material’s integrity, leading to deterioration that affects how the headphones sit against the ears. Clean pads also guarantee ideal sound isolation and prevent audio degradation caused by debris interfering with sound transmission.
Maintaining white headphone ear cushions properly is especially important to preserve their aesthetic longevity and prevent visible dirt buildup.
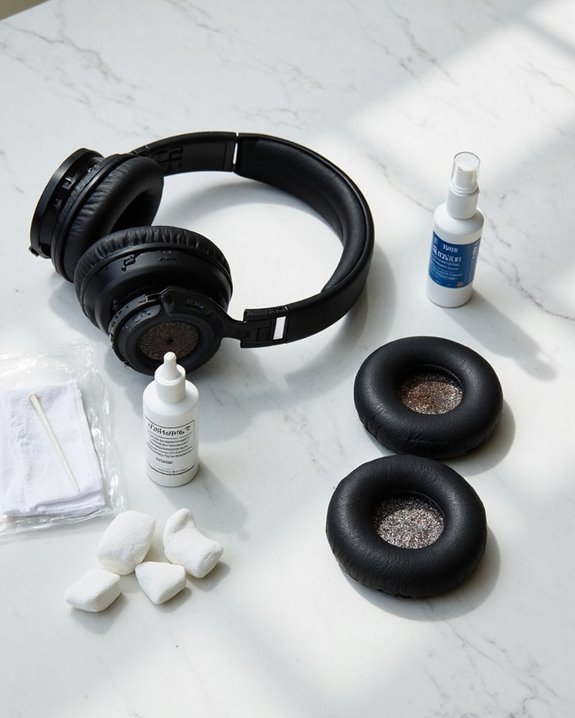
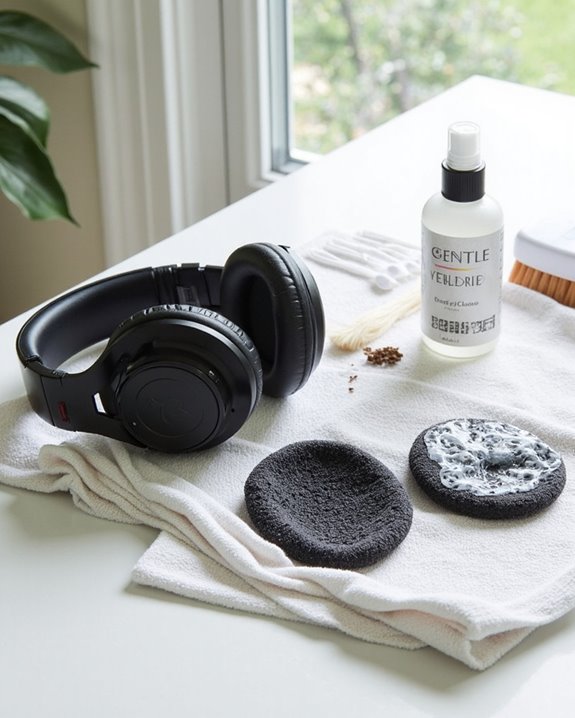
Essential Cleaning Supplies You’ll Need

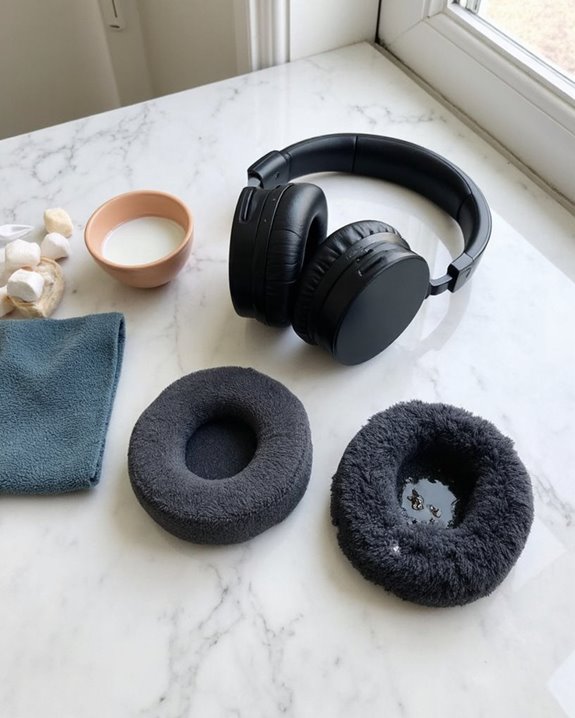
The proper arsenal of cleaning tools makes all the difference between ineffective maintenance and truly revitalizing your headphone pads. Microfiber cloths stand as the foundation of any cleaning kit, providing non-abrasive care while effectively lifting oils and debris.
For deeper cleaning, a solution of mild, fragrance-free dish soap in warm water offers excellent results as a Budget Pick compared to specialized cleaners. Eco Options include biodegradable microfiber cloths and plant-based detergents that perform equally well.
A soft-bristled brush removes dust and debris from fabric surfaces before wet cleaning, while cotton swabs reach tight crevices. For sanitization, use alcohol wipes sparingly on hard surfaces only—never saturate soft materials.
Always keep a separate damp cloth ready for rinsing soap residue, followed by complete air drying away from heat sources.
Identifying Your Headphone Pad Material
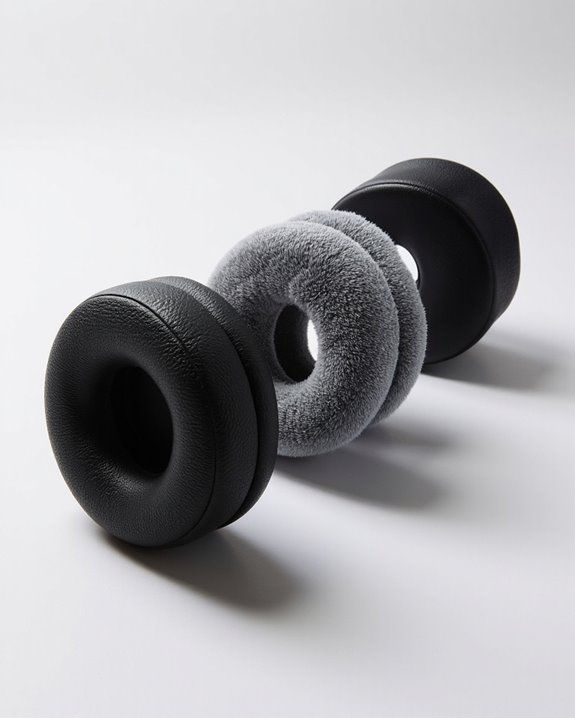
Properly identifying the material of your headphone pads serves as the essential first step in determining appropriate cleaning methods. Material identification requires careful examination oftexture, appearance, and feel to guarantee appropriate care.
Synthetic leather (pleather) pads have a smooth, uniform surface that may feel slightly plasticky. Real leather pads offer a more supple texture with natural grain variations. For proper pad recognition, velour or fabric pads can be identified by their soft, textile-like surface that resembles microfiber or felt.
Hybrid pads combine multiple materials—typically pleather on the sides with velour or microsuede touching the skin. Silicone pads have a distinctive rubbery feel, are often slightly tacky to touch, and typically lack foam filling. Examining the material carefully prevents damage from inappropriate cleaning methods. Additionally, many headphones feature memory foam ear cushions that adapt to ear shape for comfort and require gentle cleaning to maintain their integrity.
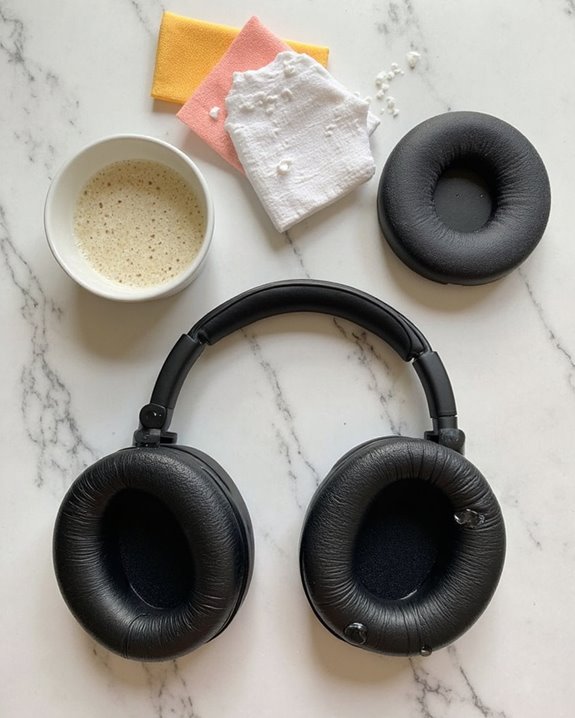
Step-by-Step Cleaning Method for Different Materials
Once you’ve identified your headphone pad material, specific cleaning methods must be applied to guarantee maintenance without damage. Technique variations are essential when switching between material types.
For synthetic leather pads, use circular motions with a slightly damp cloth, avoiding excessive moisture levels that could damage internal components. Velour and Alcantara require gentler treatment—never use soap, only water if absolutely necessary, and blot immediately to prevent watermarks.
Genuine leather demands special care with minimal moisture and occasional conditioning. All materials benefit from initial dry-cloth dusting before deeper cleaning procedures.
Always allow complete air drying before reassembly, regardless of material type. Moisture levels should be carefully monitored throughout the cleaning process—dampness is acceptable, but saturation will compromise pad integrity and potentially damage electronic components.
Deep Cleaning for Stubborn Stains and Germs
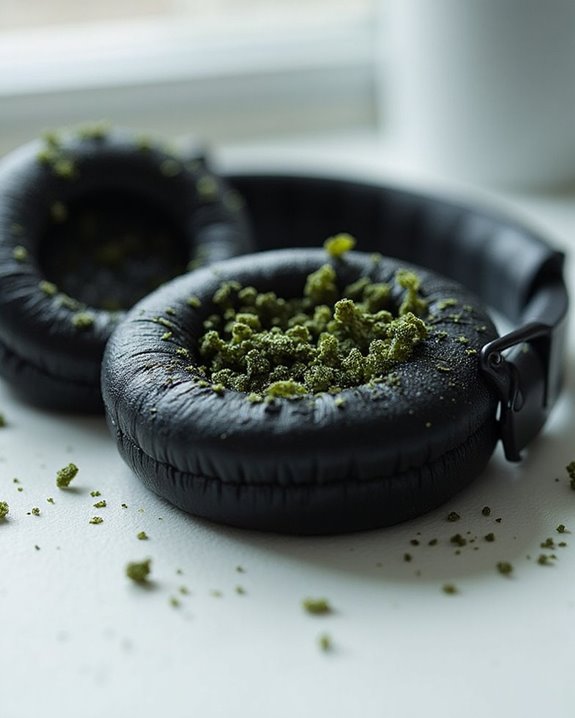
When regular maintenance isn’t enough to combat accumulated oils, sweat residue, and microbial buildup, deep cleaning becomes necessary for headphone pad restoration. Bacterial dangers lurk in neglected headphone pads, potentially causing skin irritations and infections with prolonged use.
For stubborn contamination, create a solution of heavily diluted hydrogen peroxide or mild soap with warm water. This effectively eliminates allergy triggers such as dust mites and fungal spores that commonly accumulate in porous pad materials.
Apply the solution using a soft, lint-free cloth and gentle brushing motions to reach crevices without damaging the material. Avoid harsh chemicals like hand sanitizers that leave harmful residues.
After cleaning, thoroughly wipe down with a clean, damp cloth and allow pads to completely air dry before reattaching to prevent moisture damage to electronics.
Drying and Reassembly Best Practices
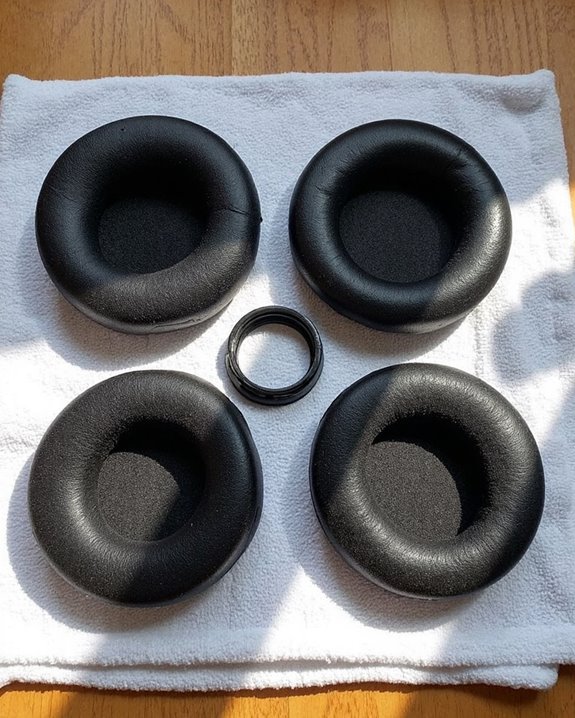
The drying process represents a critical phase in headphone pad maintenance that directly impacts both the longevity of materials and audio performance. After cleaning, allow pads to air dry naturally in a well-ventilated area, avoiding direct sunlight or heat sources that could warp materials. For faster results, gently blot excess moisture with a microfiber cloth rather than rubbing vigorously.
During reassembly, proper screw handling becomes essential for maintaining structural integrity. Use small containers to organize removed screws by location, and document their positions to guarantee correct replacement. When reattaching pads, verify that mounting areas are clean and free of adhesive residue before alignment. Tighten screws in a star pattern using appropriate pressure to avoid damaging the casing or stripping threads.
Preventative Maintenance to Extend Pad Lifespan
Proactively implementing a maintenance schedule dramatically extends the lifespan of headphone pads while preserving audio quality and comfort. Establishing regular cleaning routines prevents dirt and oils from accumulating and damaging pad materials over time.
Sun Protection should be prioritized, as exposure to direct sunlight can cause discoloration and deterioration of earpads, particularly those made with protein leather. Store headphones in cool, dry environments away from windows and heat sources.
Case Storage represents the most effective defensive measure against environmental damage. When not in use, headphones should be kept in their protective cases to minimize dust collection and physical stress. For headphones lacking included cases, investing in a suitable storage solution prevents unnecessary wear while protecting the integrity of pad materials.
Additionally, regular maintenance can help delay the need for replacement every 1-2 years by reducing wear and tear on headphone components.
Frequently Asked Questions
Can I Use Alcohol Wipes on My Headphone Pads?
Alcohol safety concerns make regular wipes risky for headphone pads, potentially causing material damage and color fading. Wipe alternatives such as mild soap solutions or specialized cleaning products offer safer, equally effective options.
How Do I Remove Ear Wax From Mesh Headphone Material?
Many audiophiles swear by hydrogen peroxide for stubborn buildup. To remove ear wax from mesh headphone material, gently apply hydrogen peroxide with a cotton swab. Mesh wax alternatives include micellar water. Regular cleaning provides effective ear wax prevention.
Will Cleaning Cause the Color of My Headphone Pads to Fade?
Regular cleaning with mild solutions can cause minimal fading. For fade prevention, use microfiber cloths with gentle detergents and avoid harsh chemicals. Some manufacturers offer color alternatives specifically designed to maintain appearance with regular use.
Can I Machine Wash Removable Fabric Headphone Pads?
In a world of cleaning nightmares, machine washing removable fabric headphone pads is generally not recommended. Fabric compatibility varies widely, and most washing instructions suggest gentle hand washing to preserve integrity and prevent damage.
How Often Should I Replace My Headphone Pads Despite Regular Cleaning?
Headphone pad replacement is typically recommended every 3-6 months for heavy users despite cleaning. Users should monitor pad durability and look for replacement signs including flattening, material deterioration, sound quality changes, and compromised comfort.