As an Amazon Associate, we earn from qualifying purchases. Some links on this site are affiliate links at no extra cost to you. Our recommendations are based on thorough research and editorial judgment.

How to Clean Headphones: A Step-by-Step Guide

Cleaning headphones requires specific materials based on their type: microfiber cloths and mild soap for over-ear models, isopropyl alcohol for in-ear varieties. Begin with a thorough inspection for dirt buildup, worn pads, and moisture damage. Clean headbands with appropriate solutions—diluted shampoo for fabric, conditioning for leather. For ear cushions, apply gentle cleaning solutions with microfiber cloths, while speaker grills require soft-bristle brushes or compressed air. Proper drying in well-ventilated areas prevents damage and extends your device’s lifespan.
Key Takeaways
- Wipe ear cushions with microfiber cloths and diluted mild soap for synthetic materials, or use specialized leather cleaners for genuine leather parts.
- Inspect headphones for dirt buildup, worn ear pads, and moisture damage before cleaning to determine appropriate cleaning approach.
- Clean fabric headbands with diluted shampoo, leather headbands with damp cloth followed by conditioning, and synthetic materials with minimal moisture.
- Sanitize earcup cushions with warm water and gentle soap, using cotton tips for crevices and allowing complete air drying before reattachment.
- For wireless earbuds, clean exteriors with lint-free cloth, use cotton swabs on charging contacts, and let components air dry completely.
Essential Cleaning Materials for Different Headphone Types
You may be interested
Can You Track Beats Headphones If They Are Lost?
July 1, 2025
Do Headphone Dents Go Away?
August 4, 2025
The right cleaning supplies are critical for maintaining headphones without causing damage to sensitive components. Different headphone designs require specific cleaning approaches and materials to guarantee proper care.
For over-ear and on-ear models, microfiber cloths and diluted mild soap solutions work effectively on synthetic materials, while specialized leather care products preserve genuine leather parts. DIY Solutions like a soft toothbrush can safely remove debris from crevices without harming drivers.
In-ear headphones benefit from precision tools designed specifically for small components, along with isopropyl alcohol for disinfection. Eco Materials such as reusable microfiber cloths are preferable to disposable wipes for regular maintenance.
Various ear cushion materials—foam, leatherette, vinyl, and velour—each respond best to specific cleaning approaches, with some requiring only dry wiping while others can tolerate mild soap solutions. Additionally, paying attention to safe cleaning products for ear cushions helps maintain the aesthetic and longevity of white headphones.
Recommended Products
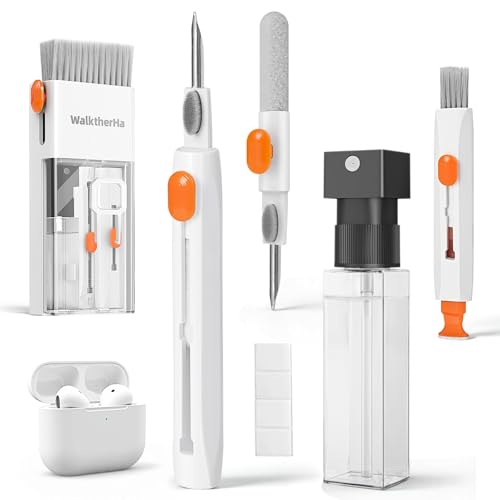
Professional & Powerful: Say goodbye to dirt, grime, and earwax with our 20-in-1 AirPod Cleaner Kit. The metal tip cleans small crevices, sound holes, and charging ports, while the soft brush with high-density bristles gently cleans speaker mesh. The flocking sponge is perfect for earpods charging cases. Airpods cleaning kit also includes a 15ml screen cleaner spray, microfiber cloth, and Airpod cleaning putty for thorough maintenance, preventing build-up and ensuring peak performance

32-IN-1 ALL-IN-ONE SET – One compact kit cleans your iPhone, AirPods, iPad, MacBook, keyboard, earbuds and camera lens, so you stop buying separate tools.

【UPGRADED LAPTOP CLEANING KIT 】 The macbook cleaning kit computer screen cleaner comes with a number of accessories including a retractable large brush, polishing cleaning cloth X 2, keycap puller, metal pen tip, flocking sponge, thin soft brush, soft plastic lens cleaning pen, 5 replacing cloth, large cleaning microfiber cloth. You deserve the comprehensive computer cleaning kit keyboard vacuum at a low cost
Pre-Cleaning Inspection: What to Look For
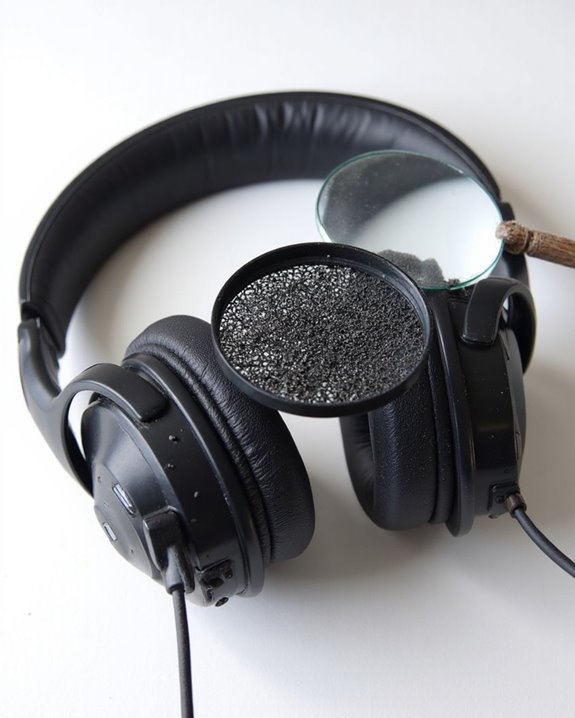
Performing a thorough inspection before cleaning headphones saves time and prevents potential damage to delicate components. Users should examine headphones for accumulated dirt, worn ear pads, and structural damage that may require special attention during cleaning.
Check all functional elements including sound quality, microphone clarity, and button responsiveness to establish a baseline before cleaning begins. Poor Storage Conditions often lead to dust buildup and cable damage, while Travel Effects frequently manifest as structural weaknesses in joints and headbands.
Inspect for hygiene concerns such as earwax accumulation or signs of bacterial growth, particularly if headphones have been shared or stored in humid environments. Finally, look for evidence of moisture exposure or chemical residue from previous cleaning attempts that might require specialized treatment approaches.
Proper Techniques for Cleaning Headbands
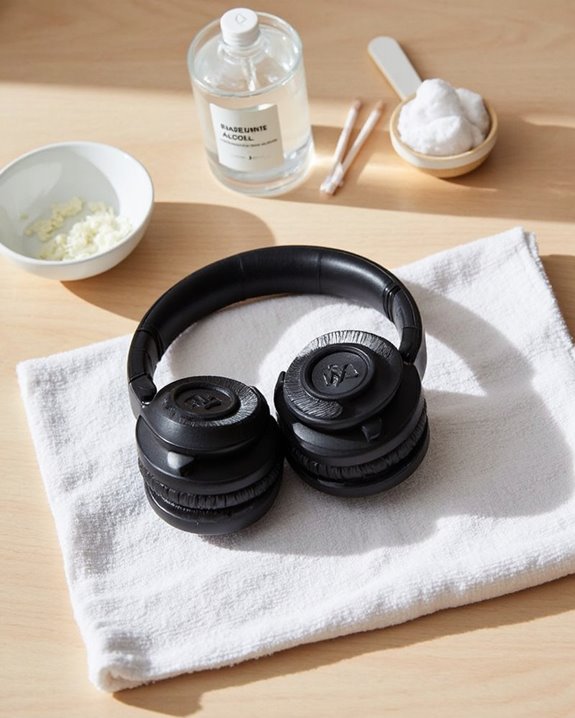
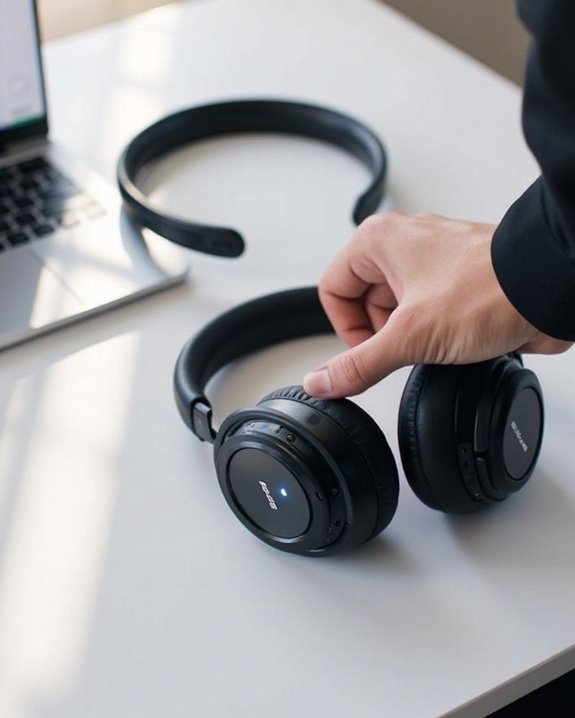
While maintaining headphone hygiene requires attention to all components, headbands demand particular care due to their continuous contact with hair and skin oils. Different materials necessitate specific approaches to cleaning.
For fabric headbands, gentle scrubbing with natural cleaners like diluted mild shampoo is effective for removing accumulated oils. Machine washing may be suitable for some designs, while others require hand washing and air drying.
Leather headbands should never encounter excessive moisture or harsh chemicals. Instead, use a slightly damp cloth followed by conditioning to maintain suppleness.
Synthetic materials typically need only a lightly moistened cloth, with minimal use of cleaning agents. Always remove electronic components before cleaning, particularly from Bluetooth headbands.
For specialty materials like velour or Alcantara, microfiber cloths provide sufficient cleaning power without damaging delicate surfaces.
Sanitizing and Refreshing Earcup Cushions
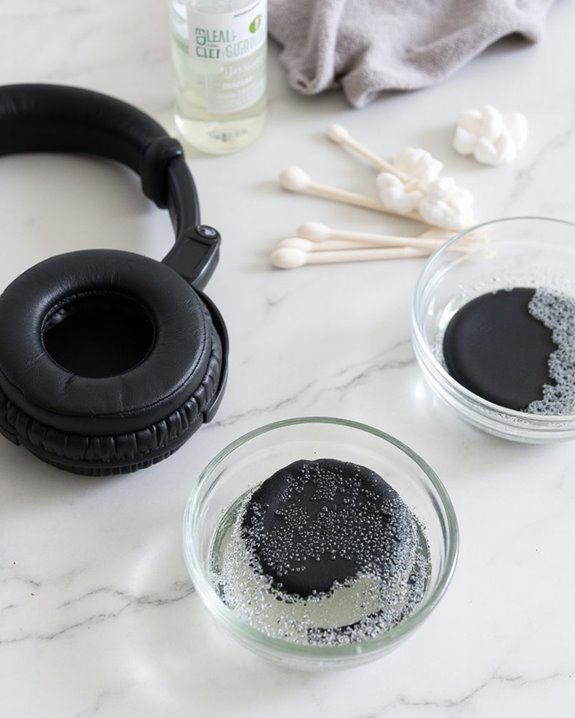
Maintaining hygiene for earcup cushions requires dedicated attention, as these components make direct contact with skin and absorb oils, sweat, and debris during regular use. Effective earcup sterilization begins with preparing a mild cleaning solution of warm water and gentle soap.
For proper cushion deodorizing, apply the solution using a lightly dampened microfiber cloth rather than soaking the material. Cotton tips prove invaluable for reaching crevices and seams where bacteria accumulate. Non-abrasive cleaners like peroxide can safely sanitize synthetic leather without causing damage.
After cleaning, thoroughly dry cushions by gently pressing between a towel, then allow them to air dry completely before reattachment. Regular maintenance greatly extends cushion lifespan while preventing bacterial growth. For persistent odors or severely soiled cushions, replacement may be the most hygienic solution.
Recommended Products

Professional Headphone Care Kit: No more messy, separate cleaning supplies. This all-in-one kit works with all major headphone models, including Apple AirPods Max, Beats, Sony series, and Bose. It is specially designed for deep cleaning leather ear cushions and fabric headbands. With targeted cleaning solutions and all the necessary tools, it helps restore your headphones to a like-new condition.

Upgraded Protein Leather: Softer and more durable, offering better resistance to peeling and wear, while providing a cleaner and more polished appearance

Upgraded Protein Leather: Softer and more durable, offering better resistance to peeling and wear, while providing a cleaner and more polished appearance
Deep Cleaning Speaker Grills Without Damage

Speaker grill maintenance poses a unique challenge when deep cleaning headphones, as these delicate components protect critical internal parts while collecting significant dust and debris. Recent grill innovations feature intricate designs that enhance sound waves but complicate cleaning procedures.
For effective cleaning without damage, utilize soft-bristle brushes to gently sweep away surface particles. Avoid excessive pressure that might push debris deeper into the mesh. A low-pressure air compressor represents an ideal solution for dislodging stubborn dirt without physical contact.
If headphone design permits, carefully remove the grills for more thorough cleaning. For non-removable grills, consider specialized sound frequency tools that use acoustic vibrations to shake loose particles. This method leverages the same physical principles that allow sound waves to travel through the grills during normal operation.
Maintaining Wireless Earbuds and Their Charging Cases
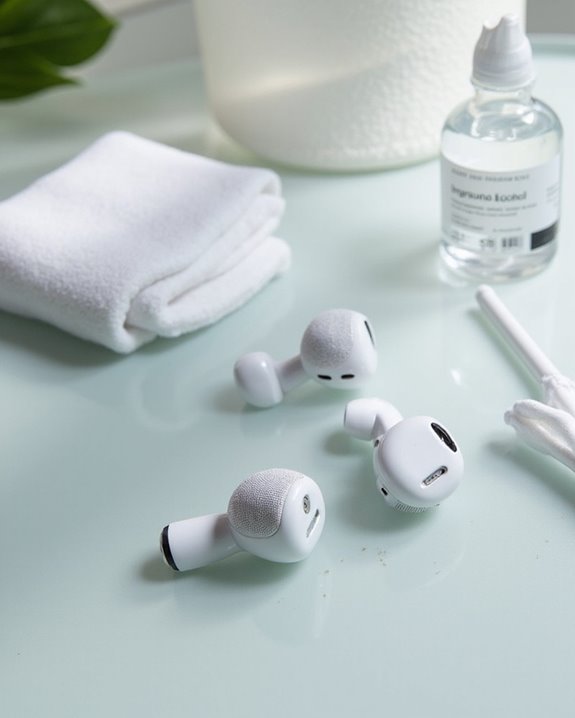
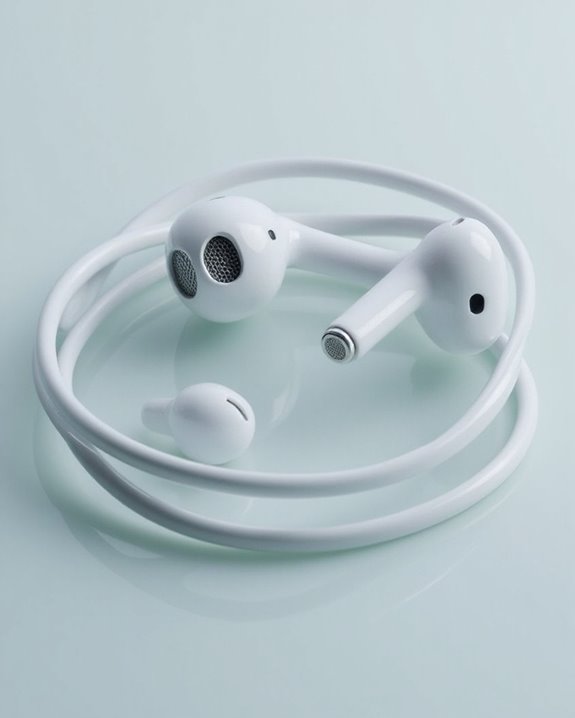
Wireless earbuds present unique cleaning challenges compared to traditional headphones, requiring specialized care for both the earbuds themselves and their charging cases. Users should disconnect earbuds before cleaning and use a slightly dampened lint-free cloth for exterior surfaces, avoiding direct liquid contact with speaker grills.
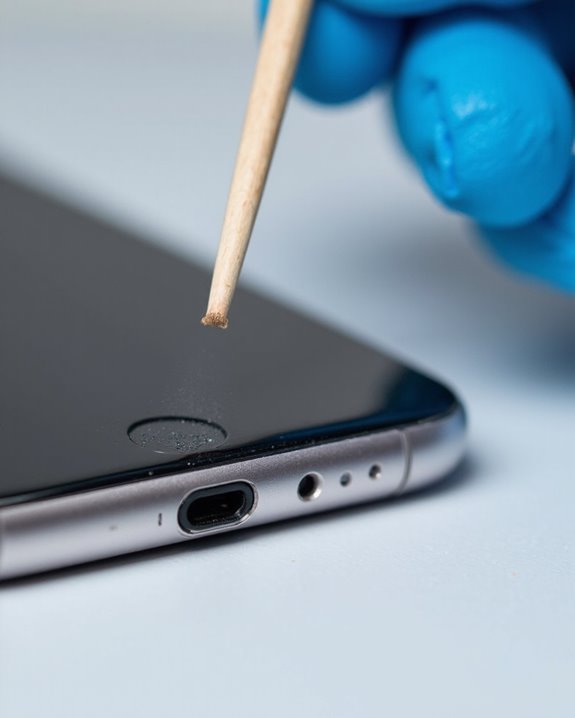
For proper Battery Care, make sure charging contacts remain clean by gently using cotton swabs to remove debris that could impede connectivity. Never use metal objects or abrasive materials on these delicate components.
Storage Tips include leaving cases open to air dry completely after cleaning, particularly if moisture has been introduced. For tight spaces, silicone cleaning putty or careful use of compressed air can effectively remove dirt without damaging components. Establishing a regular cleaning routine helps maintain best audio quality and extends the lifespan of wireless earbuds. Additionally, choosing earbuds with an IPX7 waterproof rating can help protect your devices from damage during cleaning routines.
Recommended Products

PRO-LEVEL CLEAN FOR HARD-TO-REACH AREAS – Dust and lint hide deep inside charging ports, speaker grills, and earbuds. This cleaning putty and phone cleaning kit removes debris and earwax from devices safely.

【CLEAN & REPAIR CHARGING PORT】This multi-functional iPhone cleaning kit tool, won't get stuck inside, is sturdy and flexible, and easy to plug and use. Use the port hook, U-shaped brushes and port brushes clean the dirt out of your iPhone, iPad, and Type-c port, remove lint, hair, lint, dust, oil, and other contaminants from the charging port, and leave your phone looking brand new. Extend and protect the life of your beloved Apple products. (Compatible with Type-c charging port)
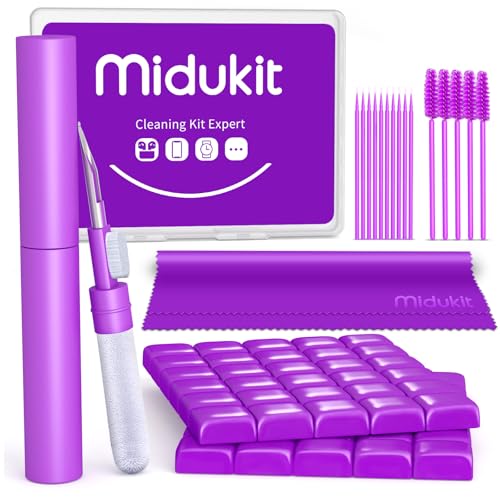
[ SOLVE YOUR PROBLEMS ] We need Airpods, earbuds and smartphone, to listen,sing, study or watch movies. But what matters to us is the dirts in the headphone, which negatively affect their function and annoy ourselves. So we need MIDUKIT airpod putty cleaner kit.
Removing Stubborn Grime From Crevices and Joints
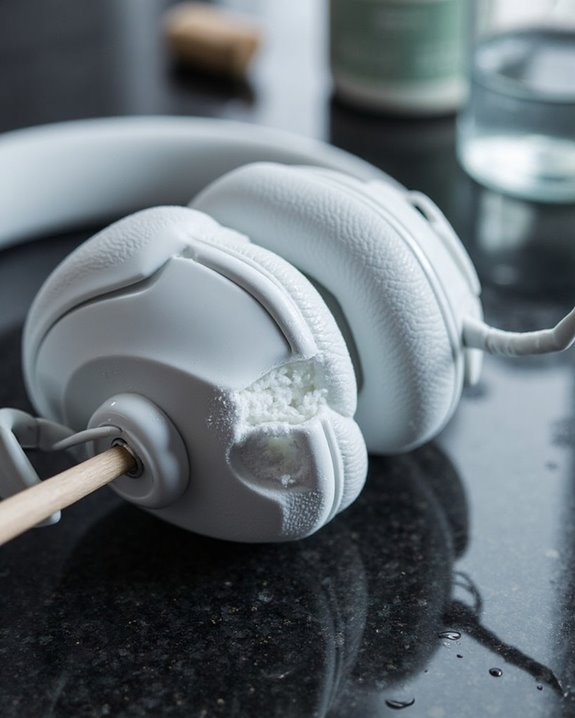
Tackling stubborn grime hiding in headphone crevices requires precision and patience to prevent damage to delicate components. The right Grime Tools make all the difference when working with intricate headphone designs.
For effective Joint Techniques, start with dry cleaning methods using a soft-bristled brush or toothbrush to dislodge and remove loose particles from tight spaces. This approach minimizes moisture exposure to sensitive electronics.
For more persistent dirt, slightly dampen cotton swabs with water or isopropyl alcohol when cleaning non-fabric areas. These tools can reach narrow gaps between buttons and housing joints.
Never use harsh chemicals on headphone components as they can degrade materials and finishes. Always make sure cleaned areas dry completely before reassembling or using the headphones to prevent internal moisture damage.
Recommended Products
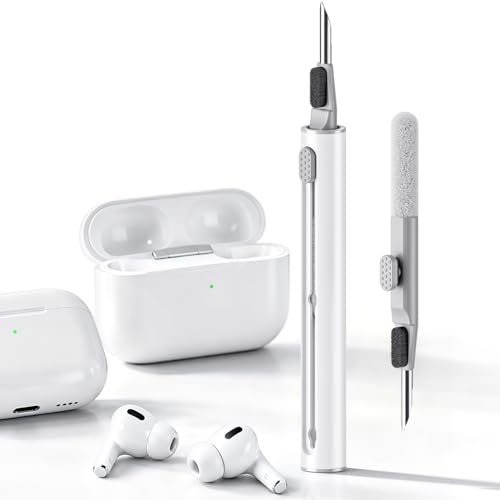
DEEP CLEANING FOR AIRPODS & EARBUDS: Designed to help remove dust, earwax, and buildup from earbuds, charging cases, speaker meshes, and hard-to-reach gaps. Ideal for AirPods Pro, AirPods, wireless earbuds, and daily electronics cleaning.

Multi-functional Hearing Aid CleaningTools: It is suitable for hearing aids, earphones, ear molds, earplugs and other difficult to solve problems such as earwax accumulation, sound tube clogging, and battery dust. The magnet on the brush head is very easy to remove and insert the hearing aid battery, and can also be used to adjust the hearing aid volume And maintenance.
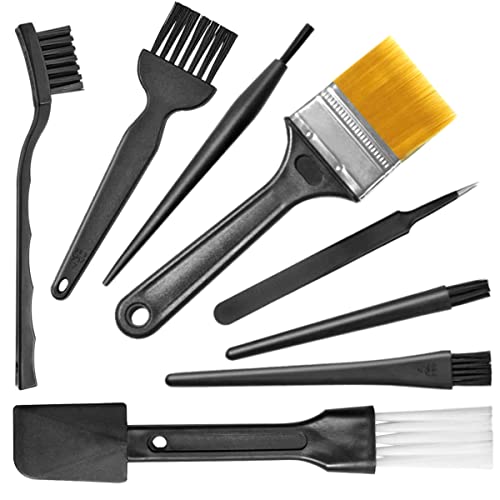
Wide variety of brushes, different bristles hardness & sizes for different tasks all the time.
Safe Drying Methods for Headphone Components
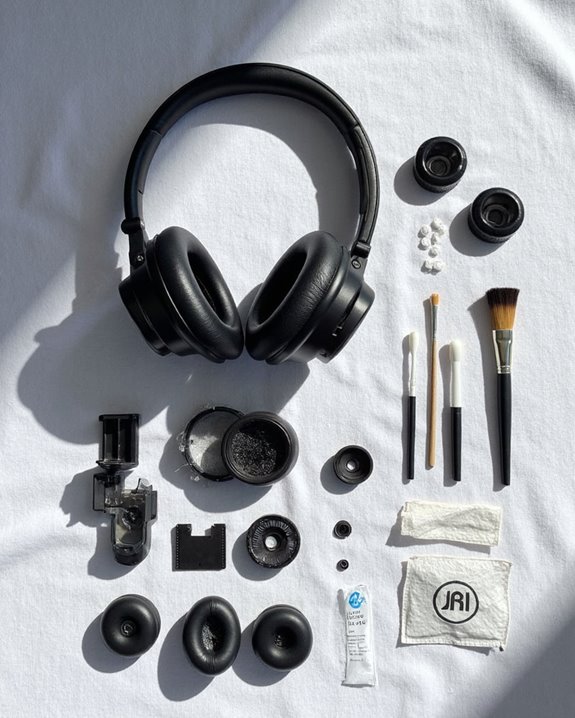
Proper drying techniques form the essential final step in any headphone cleaning process, preventing potential damage from lingering moisture. After cleaning, place components in a well-ventilated area with good humidity control for at least 48 hours, avoiding direct heat sources that could damage sensitive electronics.
For enhanced moisture removal, consider using desiccants like silica gel packs in an airtight container with disassembled parts. The rice immersion method offers another effective option, submerging components in uncooked rice that absorbs moisture through microscopic air pockets.
Throughout the drying process, position headphones for ideal airflow, rotating periodically to prevent moisture from settling. Before reassembly, verify complete dryness through visual inspection. Establish proper dry storage practices after cleaning to maintain headphone longevity and performance quality.
Establishing a Regular Maintenance Schedule
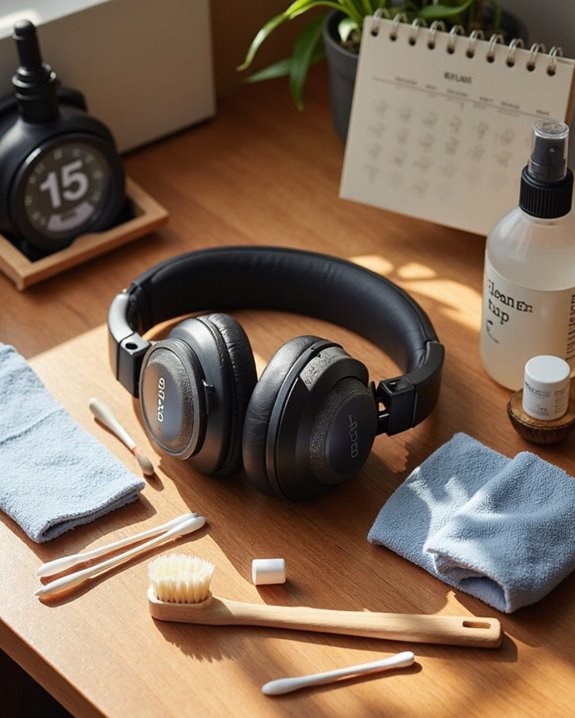
Consistently maintaining headphones extends their lifespan and preserves audio quality while preventing buildup of oils, sweat, and debris that can degrade performance over time. Effective Schedule Planning involves inspecting headphones every 1-2 weeks for visible dirt accumulation and performing deeper cleaning monthly.
Habit Building becomes easier when maintenance activities align with usage patterns. Users should:
- Conduct quick daily checks for visible stains
- Clean ear pads every 100-200 hours of use
- Perform monthly deep cleaning with mild detergents
- Check storage containers seasonally for moisture
Environmental factors also affect cleaning frequency. Headphones used in humid environments or during physical activity require more frequent maintenance. Tracking usage hours helps determine when components like ear pads need replacement, ensuring both peak performance and hygiene. Additionally, selecting headphones with water resistance ratings can reduce the impact of sweat and moisture, simplifying the cleaning process.
When to Replace Versus When to Clean Parts
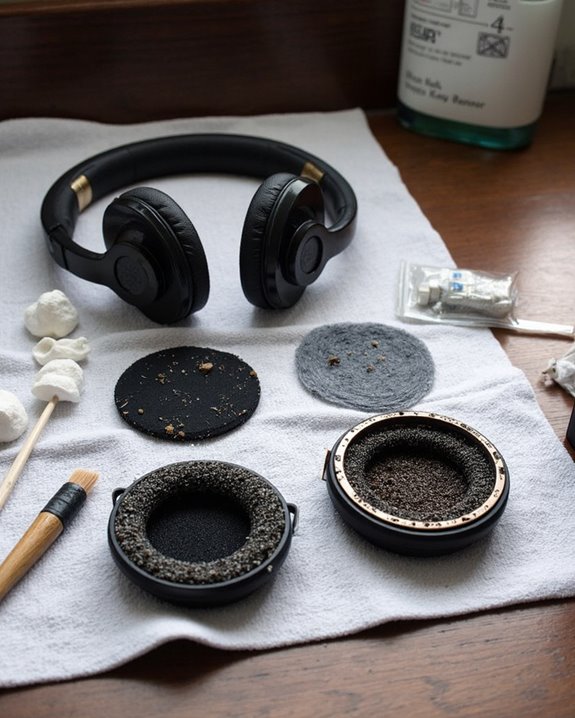
Knowing when to replace versus clean headphone parts represents one of the most challenging aspects of headphone maintenance. Users should watch for specific wear signs including cracking, peeling, or a rough texture on ear pads—all indicators that replacement, not cleaning, is necessary.
Climate impact greatly affects maintenance decisions. Headphones exposed to extreme temperatures or humidity require more frequent assessment, as these conditions accelerate material degradation, particularly in leather components. While cleaning with a soft, damp cloth works for routine maintenance after approximately seven uses, it cannot remedy advanced deterioration.
For best performance and longevity, replace foam tips and ear pads when they no longer respond to cleaning. High-quality replacement parts, though potentially more expensive initially, often prove more economical than frequent replacements or purchasing entirely new headphones.
Recommended Products

Compatibility: Link Dream Replacemen Ear Cushions Kit for Bose QC 35 / QC35 ii series are designed the same as original, these soft protein leather foam ear pads fit great with Bose Quiet Comfort 35 35II, Quiet Comfort 25, Quiet Comfort 15, Quiet Comfort 2, AE2, AE2i, AE2w, Sound True, Sound Link (Over-Ear) headphones.
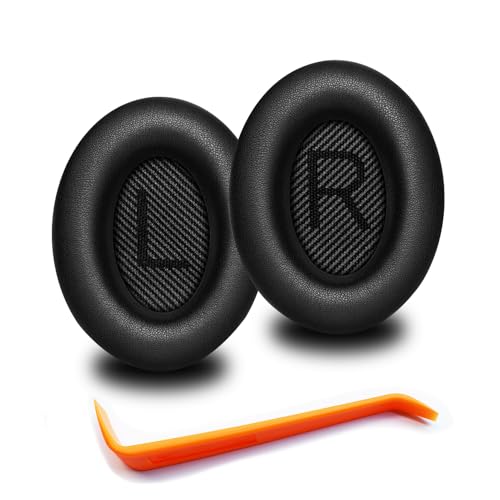
🎧COMPATIBILITY - MZKLQVE ear pads are specifically designed to be compatible with Bose QC35 / QC35 II / QC2 / QC15/ QC25 / Ae2 / Ae2i / Ae2w / SoundTrue Around-Ear / SoundTrue Around-Ear II / SoundLink Around-Ear/ SoundLink Around-Ear II Headphones.

High elasticity, light-weight, soft and comfortable touching
Frequently Asked Questions
Can I Clean My Headphones With Hydrogen Peroxide?
Hydrogen peroxide isn’t recommended for headphone cleaning due to potential material damage. Hydrogen safety concerns include discoloration and degradation. Peroxide alternatives such as specialized electronics cleaners, soft cloths, or cotton swabs are safer and more effective options.
How Do I Remove Strange Odors From My Headphones?
Odor sources in headphones typically include sweat and bacteria. For deodorizing tips, one can use hydrogen peroxide, mild detergent solutions, or natron to absorb smells. Regular cleaning prevents future odor development.
Are Headphone Cleaning Services Worth the Cost?
Headphone cleaning services offer variable service value depending on the model’s price and usage frequency. Cost analysis suggests they’re worthwhile for expensive models, while budget headphones may not justify the expense compared to DIY methods.
Can I Put Silicone Eartips in the Washing Machine?
Coincidentally, many have lost quality eartips this way. Washing machines pose significant Washing Risks to silicone eartips, potentially damaging their shape and integrity. Proper Silicone Maintenance involves gentle hand-washing with mild soap instead.
How Do I Clean Headphones With Non-Removable Ear Cushions?
For headphones with non-removable ear cushions, proper cushion maintenance involves dry cleaning with a damp cloth using mild soap solution. One should avoid excess moisture and allow cushions to air dry completely before use.