Cleaning headphone jacks requires powering off devices first and using appropriate tools. Compressed air effectively removes loose debris with 1-2 short bursts, while cotton swabs lightly dampened with isopropyl alcohol address stubborn residue using gentle twisting motions. Allow jacks to dry completely before reconnecting headphones. Regular maintenance prevents audio issues like static, connection interruptions, and muffled sound while extending device longevity. The following techniques provide detailed steps for maintaining ideal audio performance.
Key Takeaways
- Power off your device completely before attempting any cleaning to prevent electrical damage.
- Use compressed air in short, controlled bursts to remove loose debris without damaging internal components.
- Dampen a cotton swab with isopropyl alcohol and gently twist inside the jack to remove stubborn grime.
- Allow the headphone jack to dry completely before reconnecting power or testing audio connections.
- Verify cleaning success by testing audio quality and establish a regular maintenance schedule to prevent future buildup.
Why You Should Clean Your Headphone Jack Regularly
Why do many users experience audio issues with their devices? Often, the culprit is a neglected headphone jack filled with lint, dust, and debris that accumulates over time. Regular cleaning offers significant benefits for both audio quality and device longevity.
When dirt builds up in a headphone jack, it causes immediate problems like static, muffled sound, and connection interruptions. These particles interfere with the electrical contacts essential for proper audio transmission.
Beyond audio quality, consistent maintenance prevents costly damage. A clean jack reduces wear and tear on internal components, extending the lifespan of both the port and the device itself. Regular inspection and cleaning minimize the need for repairs and guarantee reliable performance.
The Cleaning Benefits extend beyond sound clarity—they directly impact overall device functionality and long-term reliability. Additionally, choosing headphones with durable materials like stainless steel headbands can help maintain performance and aesthetic quality over time.
Essential Tools for Headphone Jack Cleaning
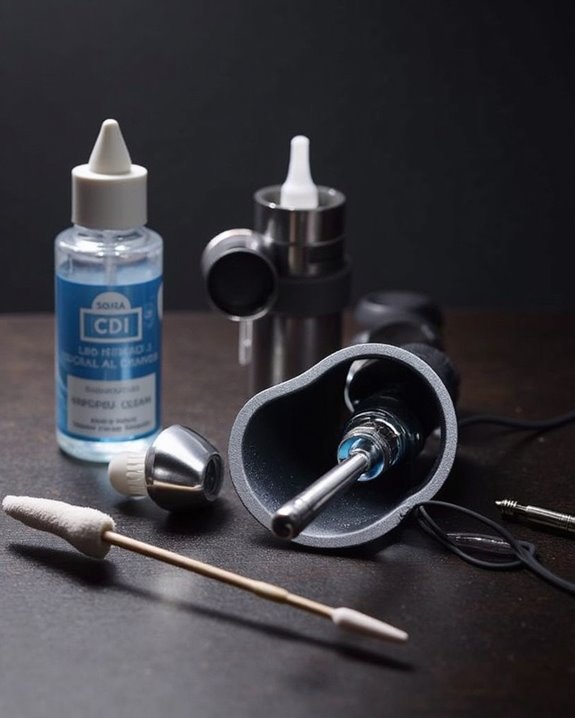
Now that we understand the importance of regular maintenance, gathering the right tools becomes the next step for effective headphone jack cleaning. The most basic toolkit should include compressed air for removing loose debris, fine brushes for dislodging particles, and cotton swabs dampened with isopropyl alcohol for detailed cleaning.
For more thorough maintenance, consider these additional items:
- Safety Gloves to protect hands when handling cleaning solvents
- Anti-static wrist straps to prevent damage to sensitive electronics
- Soft cloths for wiping external surfaces
- Dust Plugs to prevent future contamination
Preventive tools are equally important as cleaning implements. Regular use of jack covers and protective cases greatly reduces the frequency of required cleanings. When working with solvents, always make sure proper ventilation and follow manufacturer guidelines for electronics safety.
The Compressed Air Cleaning Method
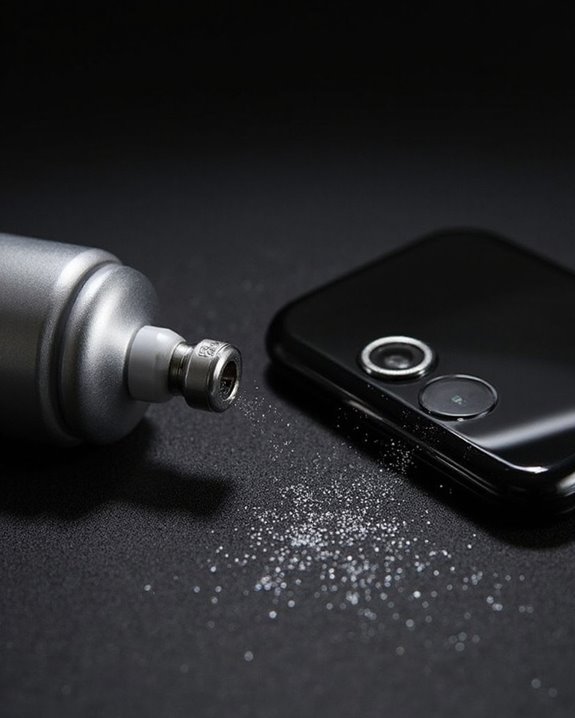
Compressed air represents the most straightforward and non-invasive approach to headphone jack maintenance. The method utilizes carefully controlled pressure dynamics to dislodge dust and debris without damaging internal components. Users should power off devices before cleaning and position them upside down to facilitate particle removal.
For best results, insert the thin nozzle near—but not directly into—the jack and apply 1-2 short bursts. Excessive pressure may damage sensitive electronics, so trigger control is essential. This technique effectively removes loose particles while leaving no residue behind.
For stubborn debris, complementary methods like fine brushes may be necessary. After cleaning, verify device functionality before regular use. Empty compressed air cans qualify for can recycling programs at most facilities, supporting environmental sustainability while maintaining your audio equipment.
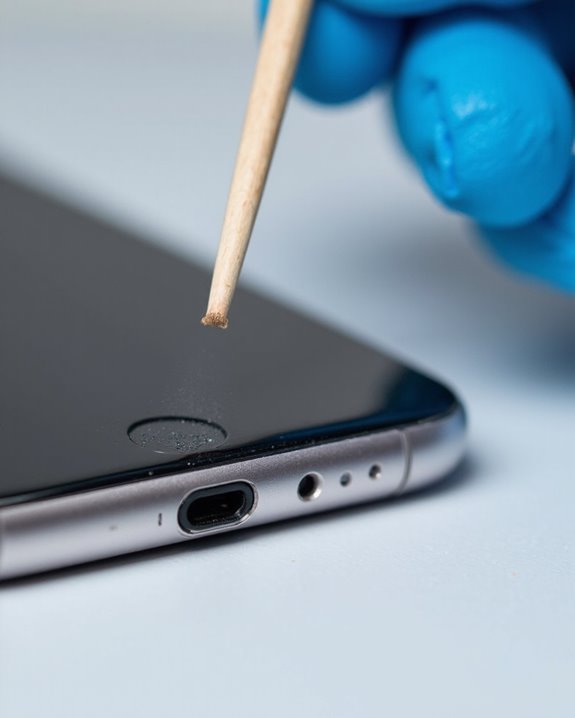
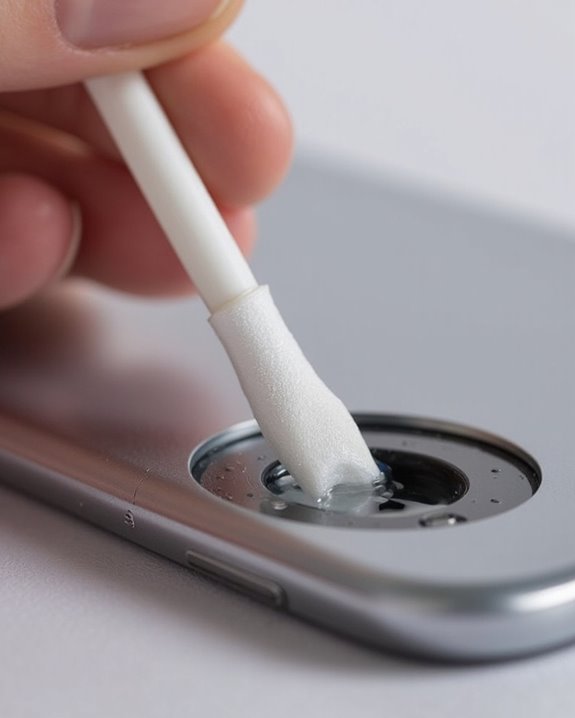
Using Cotton Swabs for Precision Cleaning
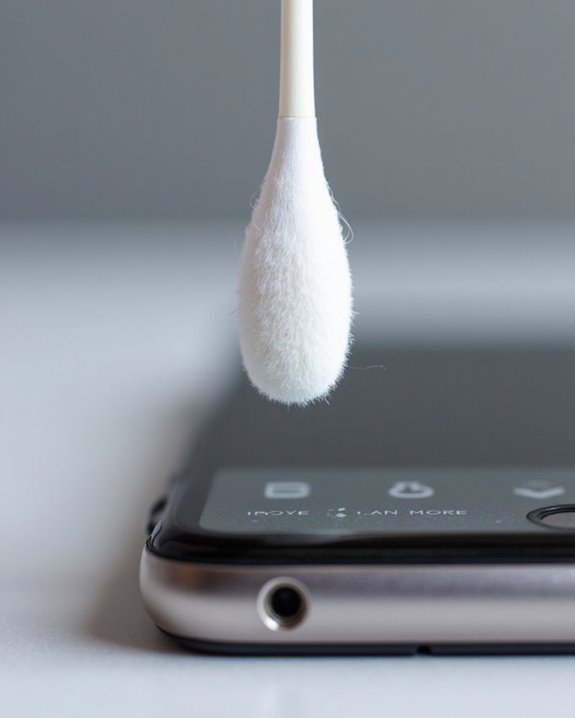
Cotton swabs offer targeted precision for cleaning headphone jacks when compressed air proves insufficient. Before beginning, make sure the device is powered off to prevent electrical damage during the cleaning process. Apply isopropyl alcohol sparingly to a small cotton swab, avoiding over-dampening that could damage internal components.
Insert the dampened swab gently into the headphone jack with a twisting motion to collect debris. This technique allows for thorough cleaning of interior surfaces without pushing particles deeper. For those with Allergy Risks to standard cotton materials, Eco Alternatives such as bamboo-based swabs provide similar effectiveness without potential irritants.
Allow the jack to dry completely before reconnecting power to prevent short circuits. Regular maintenance using this method helps preserve audio quality and extend the lifespan of your device’s audio port.
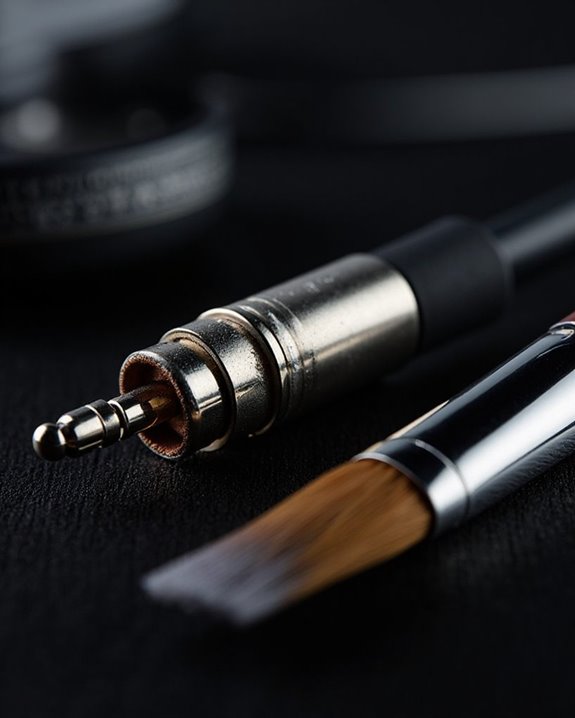
Alcohol-Based Cleaning Techniques
Isopropyl alcohol serves as an exceptional cleaning agent for headphone jacks due to its ability to dissolve oils and debris without damaging electronic components. For best results, select alcohol with higher purity levels of 91% or greater, as this guarantees minimal residue after the cleaning process.
To implement this method effectively:
- Turn off your device completely
- Lightly dampen a lint-free swab or foam applicator with alcohol
- Insert the swab using a gentle twisting motion
- Repeat if necessary with fresh swabs
The rapid evaporation rate of isopropyl alcohol makes it particularly suitable for electronics cleaning, as it minimizes moisture exposure to sensitive components. Always allow the jack to dry completely for 10-15 minutes before reconnecting headphones or powering on the device.
Post-Cleaning Verification and Maintenance Tips
After thoroughly cleaning your headphone jack, proper verification guarantees the maintenance process achieved its intended results. The Verification Process should include testing audio connections with headphones, checking for noise reduction, and evaluating overall audio quality improvements. Inspect for any remaining debris that might have been missed during cleaning.
Ongoing Care is essential to prevent future accumulation of dust and debris. When using headphones, gently plug and unplug them several times to dislodge potential buildup. Keep both the headphone plug and surrounding area clean, and avoid exposing the device to moisture or dusty environments.
For preventive maintenance, consider using protective covers and maintaining a regular cleaning schedule. If issues persist after cleaning, troubleshoot by using diagnostic tools or consulting professional repair services when necessary.
Frequently Asked Questions
How Often Should I Clean My Headphone Jack?
Cleaning frequency for headphone jacks varies by usage: monthly for frequent users, every 2-3 months for casual users. The maintenance routine should increase in dusty environments or when audio issues occur, following a regular schedule regardless.
Can I Use WD-40 or Other Lubricants to Clean the Jack?
Like a chemist evaluating volatile solutions, experts advise against WD-40 for headphone jacks. Proper lubricant types include isopropyl alcohol or specialized contact cleaners. Application methods should involve careful, minimal spraying on powered-off devices.
Is It Safe to Clean My Headphone Jack While Charging?
Cleaning a headphone jack while charging is not recommended. Electrical precautions should be followed by turning off the device first. Battery safety concerns include risks of shorts and electrical damage to internal components.
What Causes a Headphone Jack to Stop Working Suddenly?
Contrary to popular belief, headphone jacks rarely fail without warning. Sudden failures typically stem from mechanical failure due to physical damage, accumulated debris, or electrical faults caused by moisture exposure, loose connections, or manufacturing defects.
Can Water Damage to a Headphone Jack Be Repaired?
Water damage to headphone jacks can often be repaired through proper drying techniques. Jack fix methods include using absorbents like silica gel, isopropyl alcohol cleaning, or component replacement if water repair attempts fail to restore functionality.